Skip to content

2019

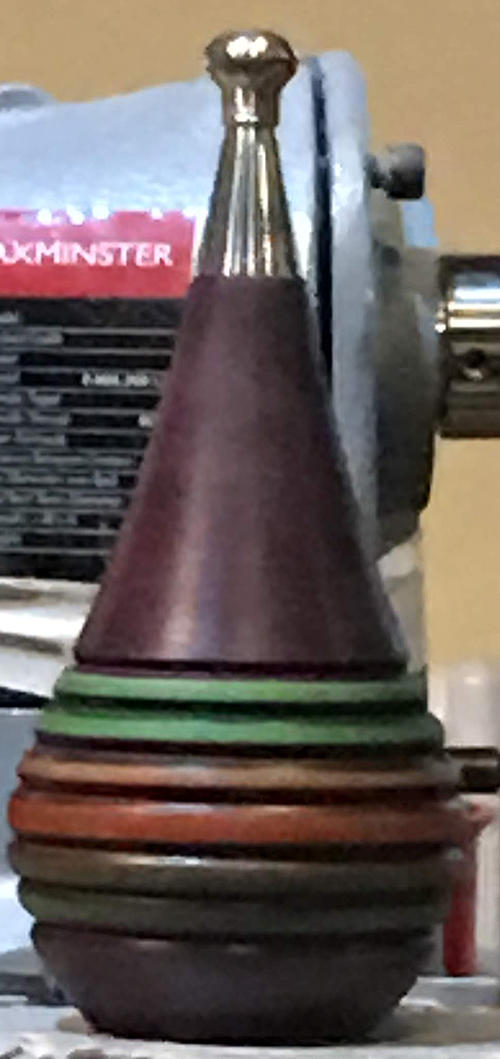
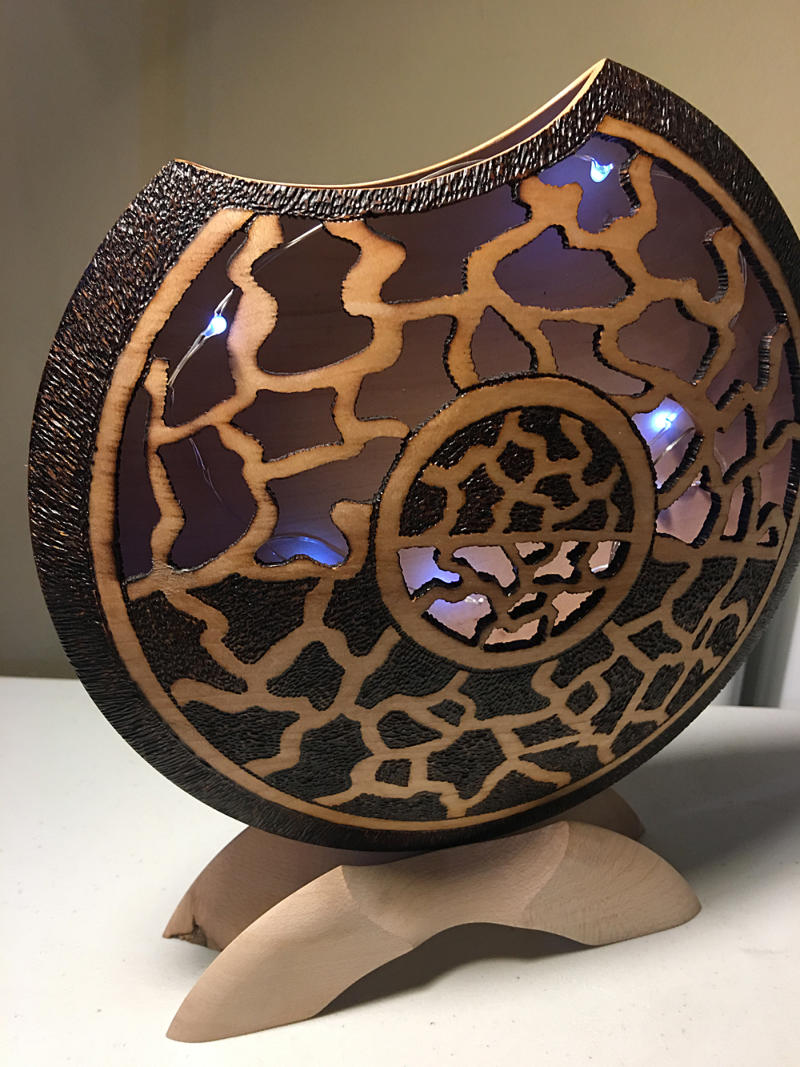
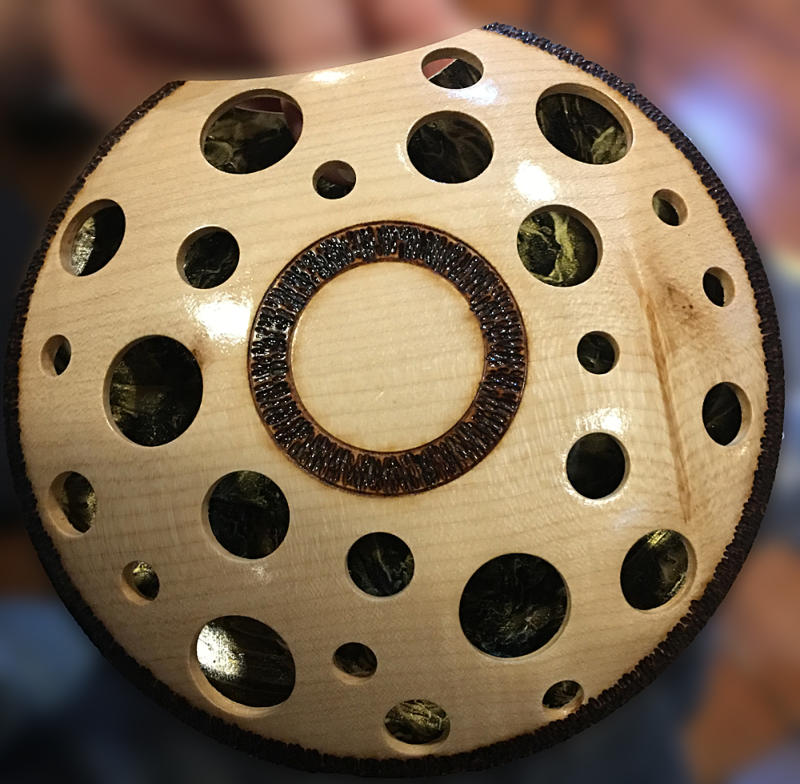
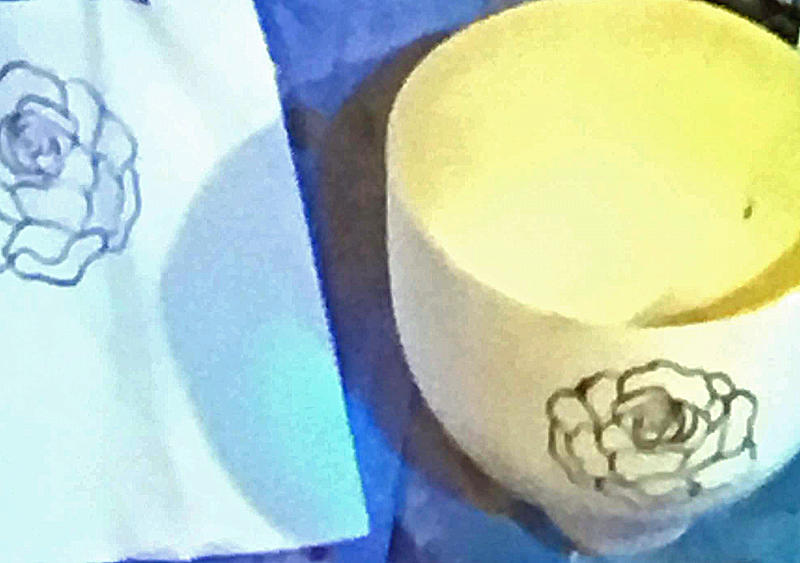
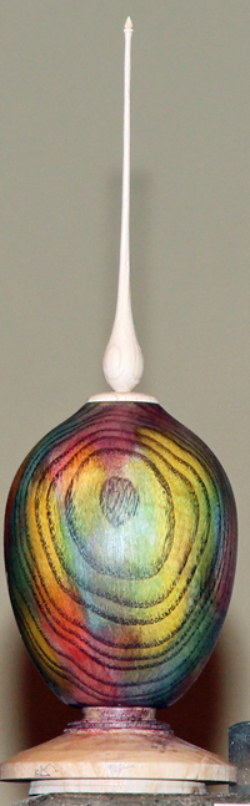
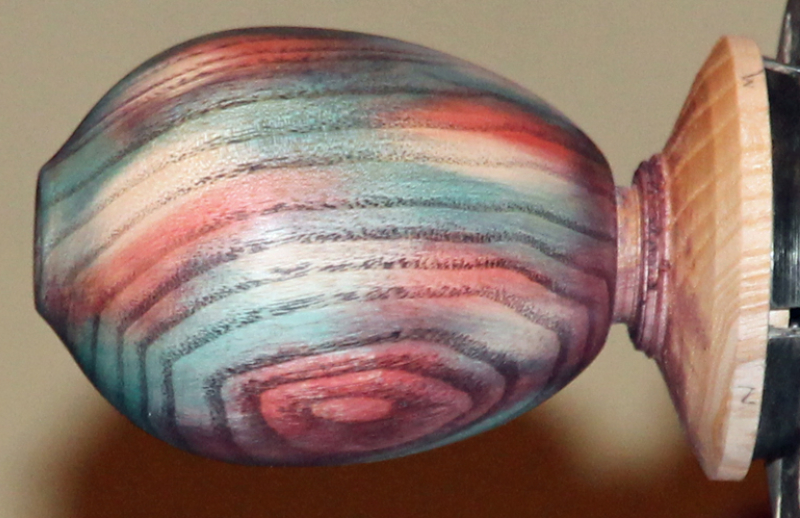
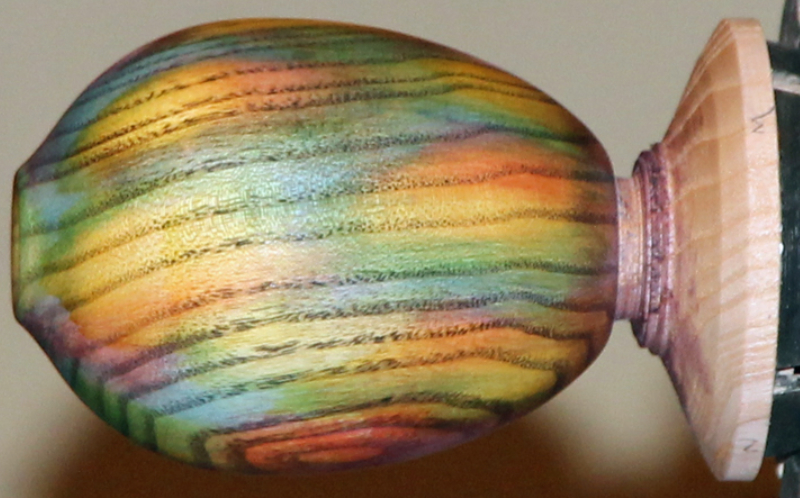
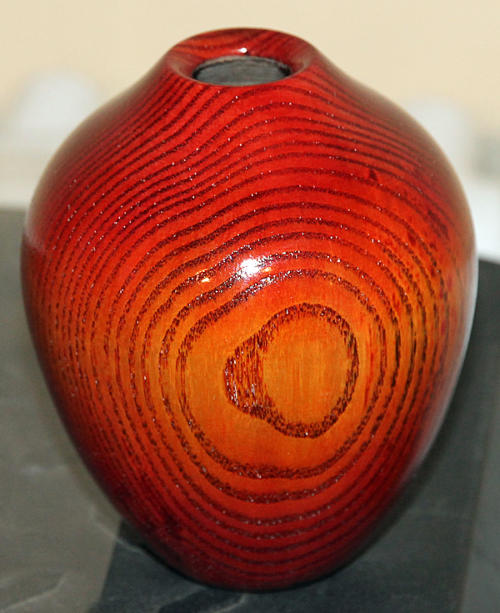
Coloured, beaded box with aluminium finial

with Rick Dobney

Rick nobly stepped into the breach when Andrew Hall, who was booked for the evening, became ill and was unable to come. Rick gave us an excellent and fascinating evening’s entertainment, even if we did have to miss the musical interlude!

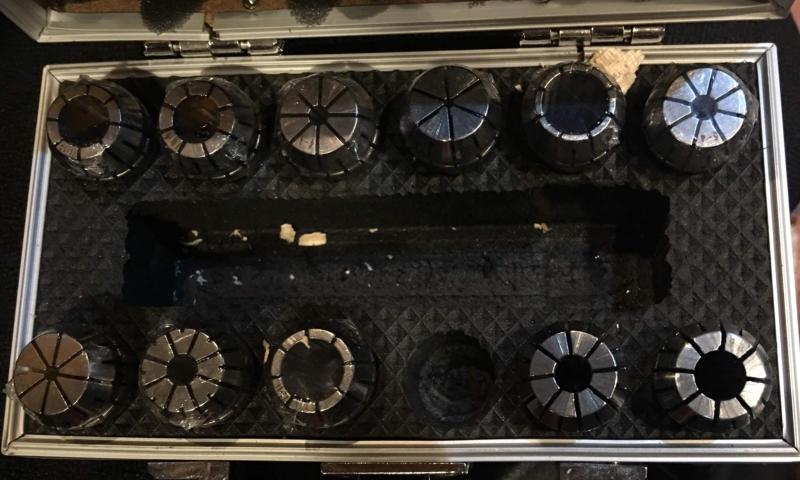
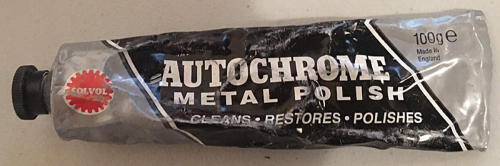
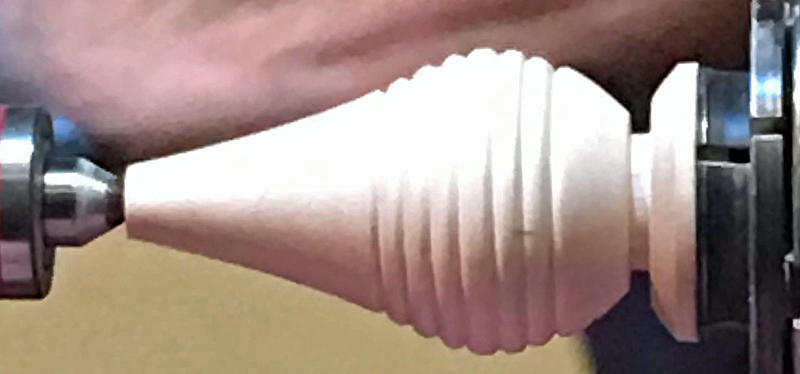
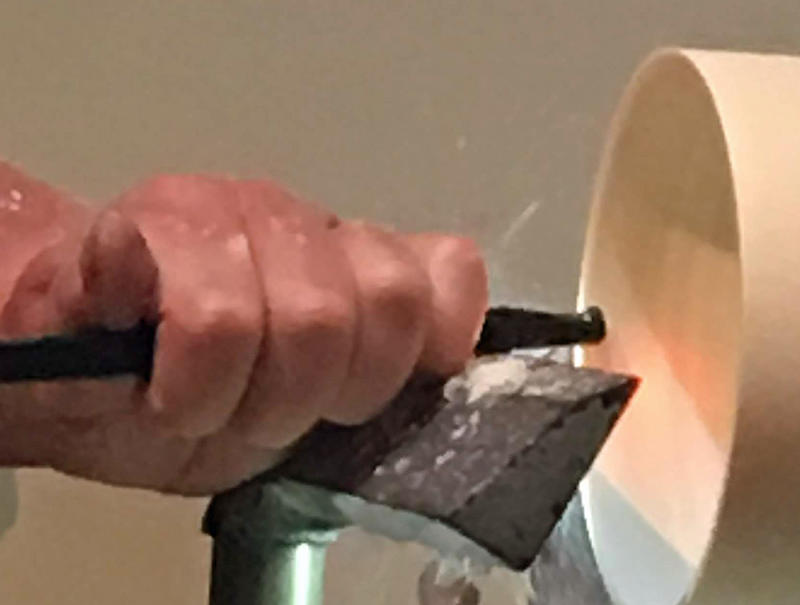
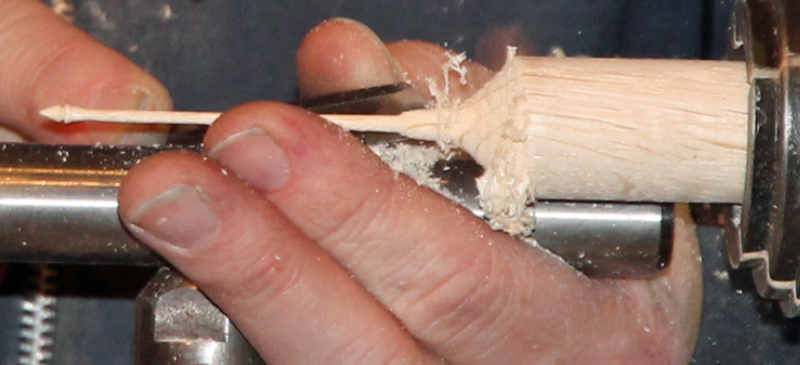
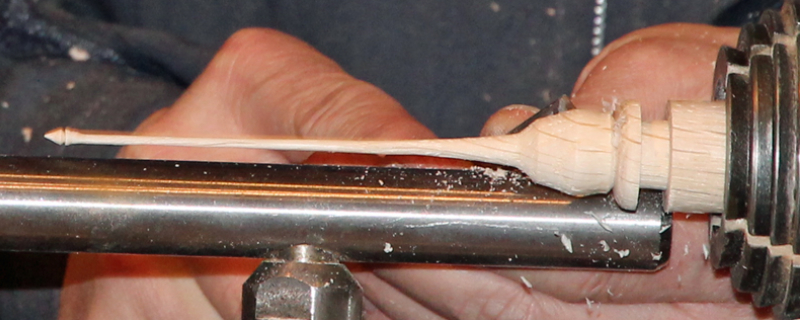
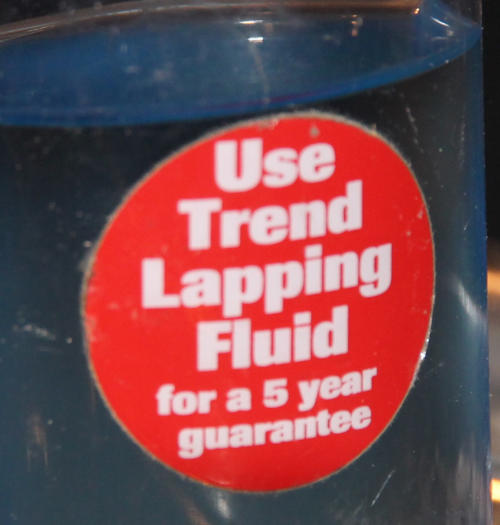
The box had an aluminium finial and was beaded and coloured, all of which Rick completed in under the allocated time – a remarkable undertaking. He started by turning the finial out of 15mm aluminium bar, using Molyslip cutting compound to lubricate the cutting tools and a collet chuck to hold the bar and finishing it off with Autochrome polish (NOTE: details of materials and equipment used can be downloaded here).

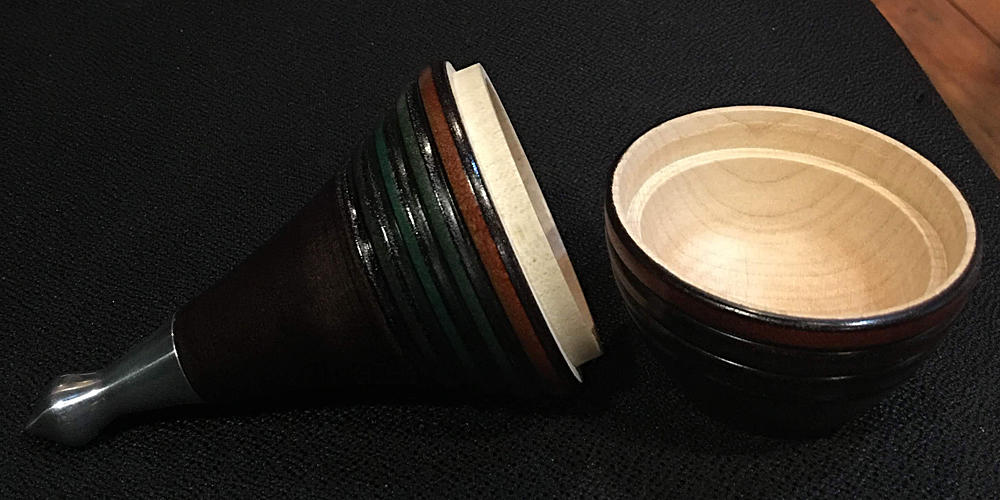
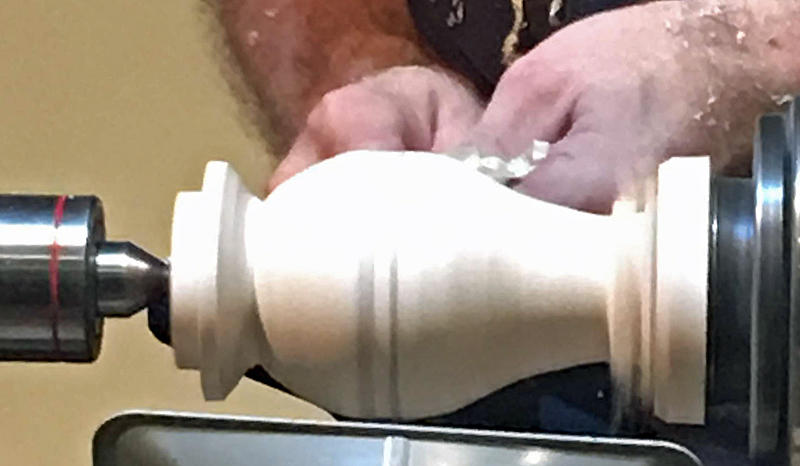
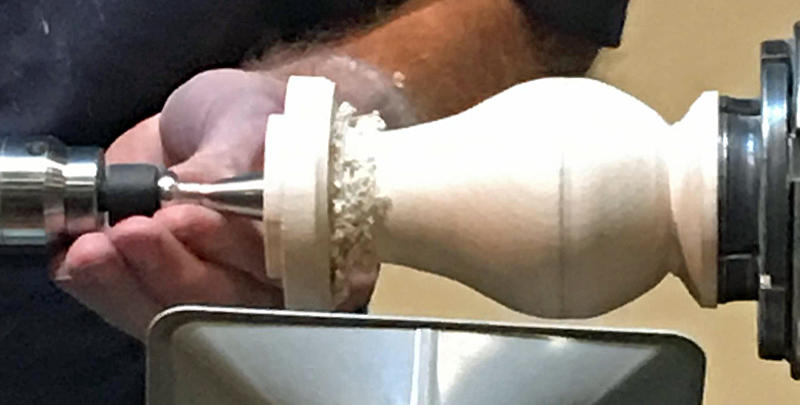
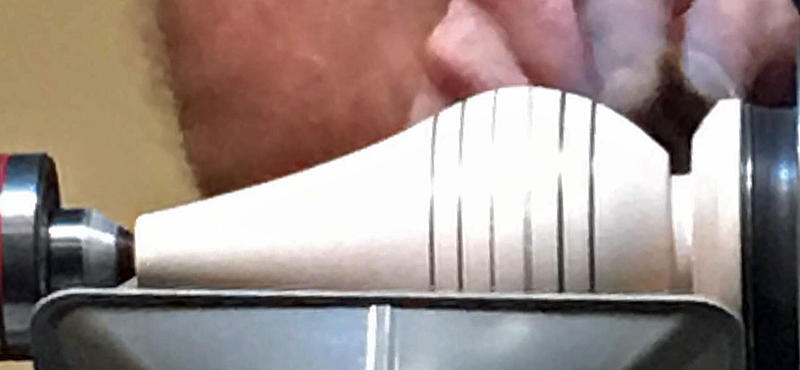
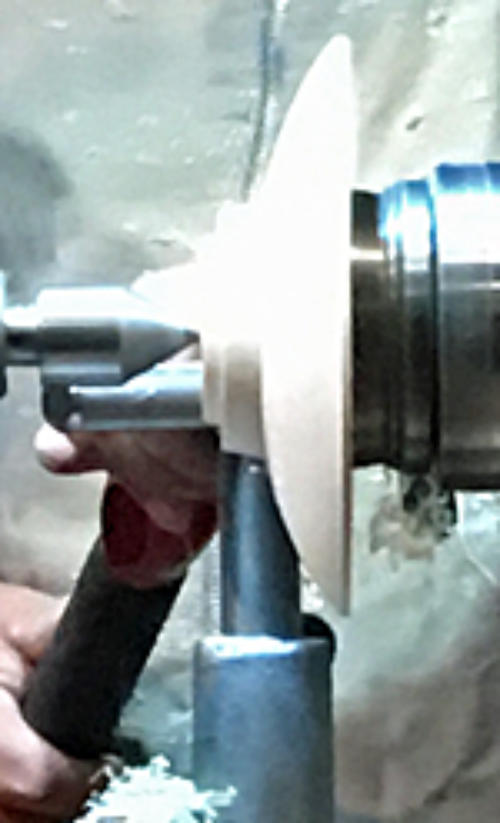
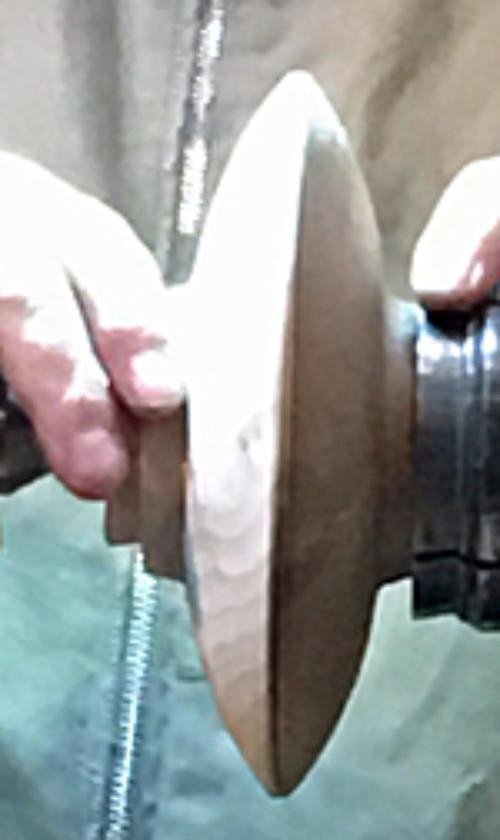
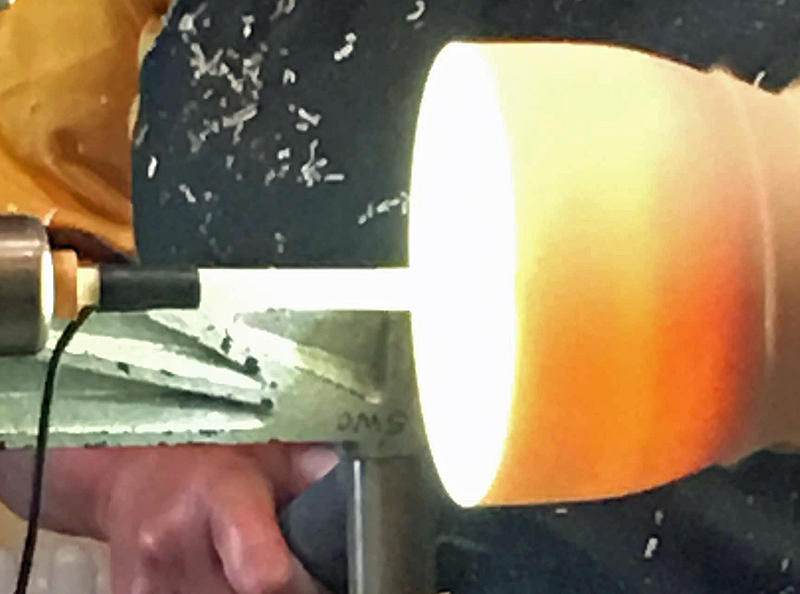
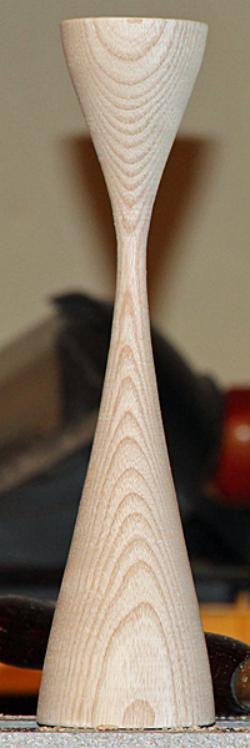
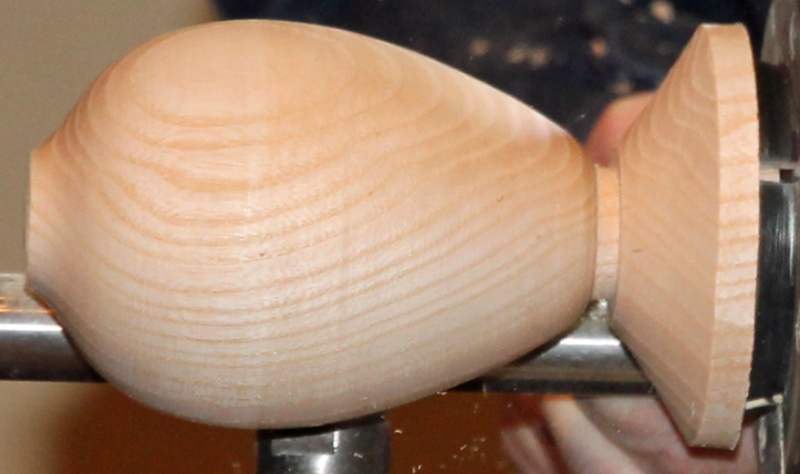
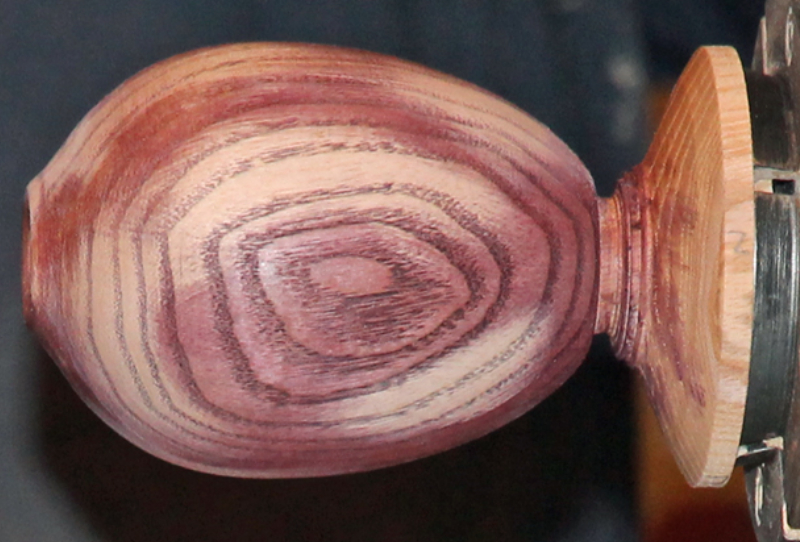
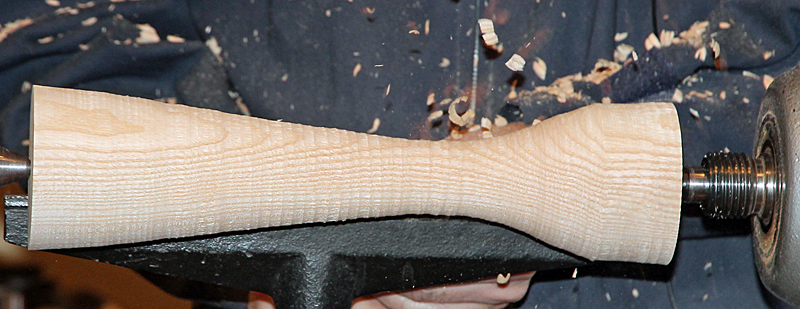
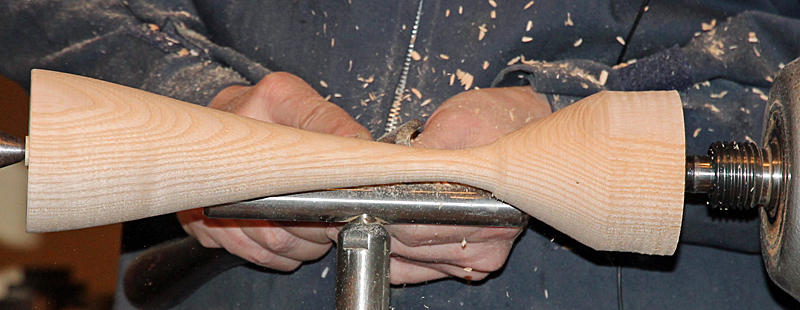
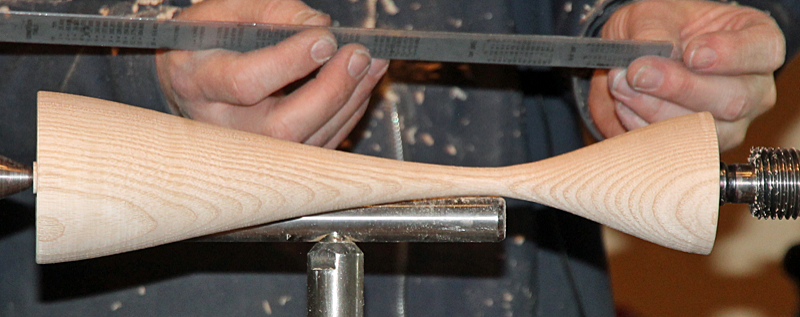
He then turned the box, parting through and turning lid interior before mounting and turning the base. The lid was tightly refitted to the base and the top drilled to the width of the finial spigot. The beading area was marked with a clever trick taping 2 pencils together at the required width. The beads were turned, always holding the spindle gouge perpendicular to the wood.

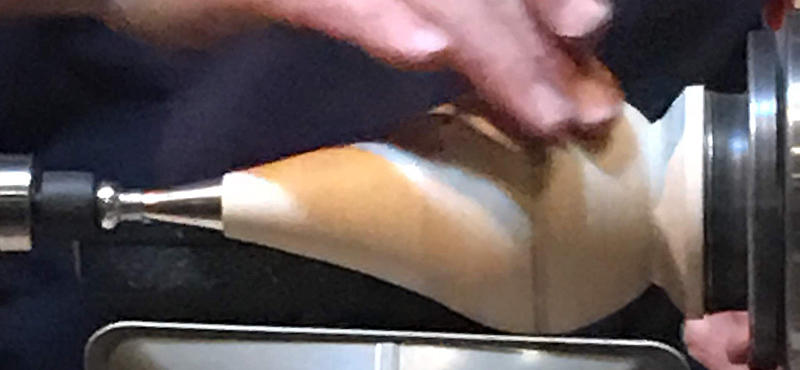
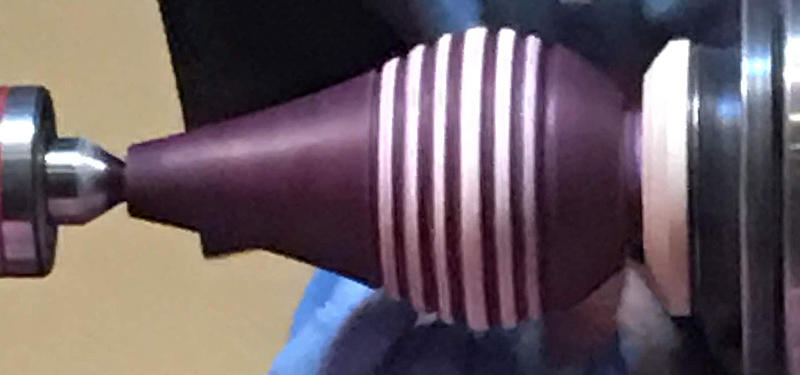
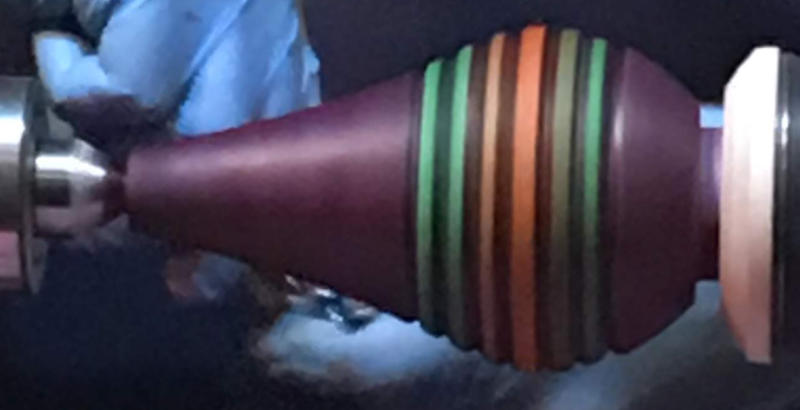
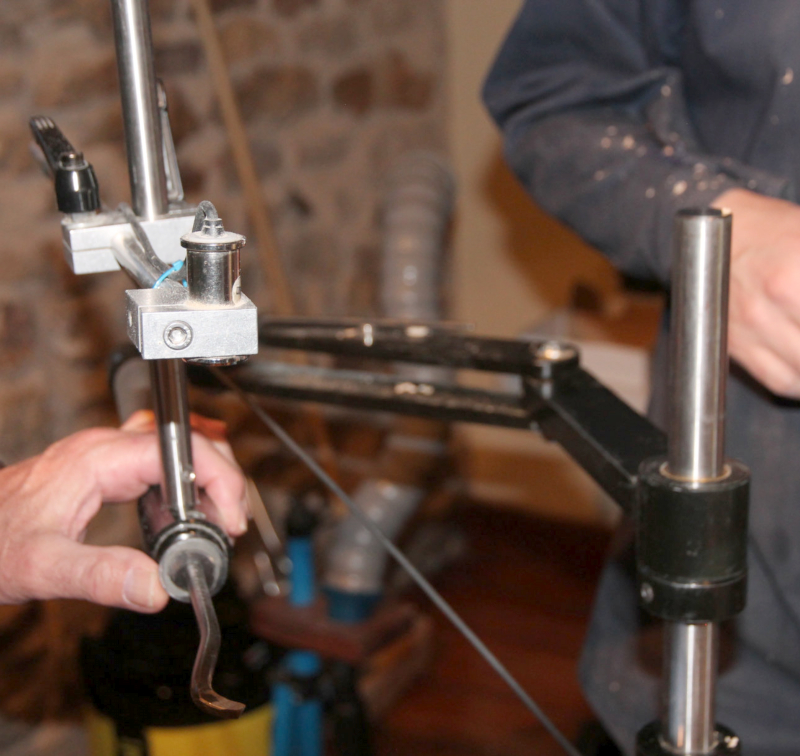
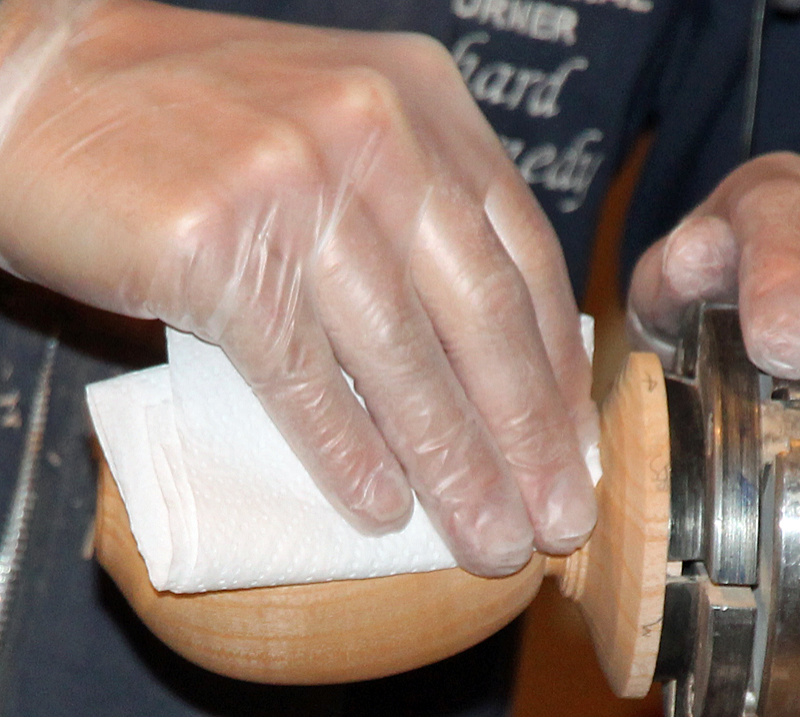
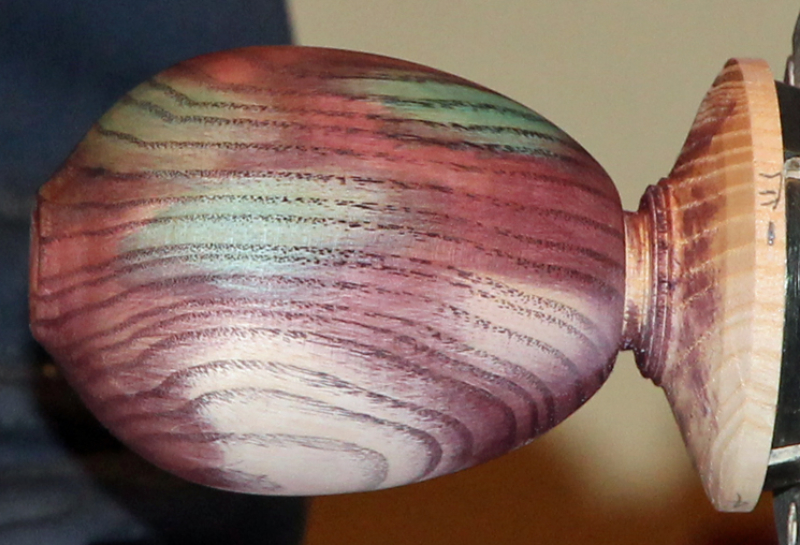
The box was then coloured with Chestnut spirit dyes and an airbrush, starting with the darkest colour first, making sure the deepest part of the beads was coloured then sanding back the top of the beads and colouring with two other colours. The whole piece was finished off with a spray of yellow dye to brighten the colours. The base was mounted in a jam chuck to remove the bottom of the box.

We had a really good turnout for the evening and Rick’s demo was appreciated by all and thanks again to Rick for standing in at such short notice.

Pierced and decorated ‘discus’

with Mick Hanbury

Mick returned with a new and interesting project, which combines two identical thin turned bowls which are bonded together to make a discus shape for decoration. Mick turns to about 3-3.5mm thick making a shallow dish with a smooth curve and then repeats for a 2nd identical bowl. He sanded with a mixture of oil and beeswax that allows the fine particles to drop rather than disperse into the air. He then denips wit paper to remove the wax before colouring. For the decoration of the inside of one bowl he started with black gesso as the base then used Jo Sonja’s colours randomly painted on, for this demo he used purple and then yellow to give a gold shimmer. The colours were mixed with a flow medium. Between the gesso and after the main colour he dried it off with a hair dryer and then used car lacquer for a gloss finish. For more complex designs he uses a retarder to slow down the drying time.

Mick put the 2 bowls together making sure the coloured bowl was marked (this will be on the back of the piece) and marked the grain match across both bowls. He used superglue to join them together and turned off the chucking point on the non coloured side. The top bowl was then marked out with the design he uses for piercing. He uses a dental burr to pierce (similar to Joey Richardson). This piece was finished by cutting out a semi circle on the edge, which was sanded down on a Simon Hope sanding drum.

Once again an interesting evening from Mick showing us a range of techniques for both the beginner and the advanced turner.

Piercing and decorating

with Joey Richardson

Joey returned to talk about how she achieves her thin bowls with piercing and decoration. She spoke about the design process and the influence of Binh Pho on her work. Joey uses main sycamore because it is white and close grained, which she freezes before turning to keep it white, and means it is still wet when turned. The bowls she turns have to be around 2mm thick at most but need weight in the bottom so she turns, then microwaves them to get the moisture out of the bottom, filling them with kithen roll and then microwaving for 20 seconds on high twice.

Joey demonstrated turning a bowl and using a light inside to see how even the wall thickness is. She then showed us how she transfers images onto the wood with a laser printed/photocopied picture taped on and a Xylene pen then pierces with dental burrs, cutting clockwise with the tool perpendicular. She pyrographs on an image which helps stop the colours leaking and also to create texture. She also showed us how she air brushes on her designs and cuts out shapes with a mini-jigsaw.

Information on the tools she uses plus some hints and tips can be seen on her website https://www.joeyrichardson.com/sheets.

V-cut bowl with coloured insert

with Margaret Garrard

Margaret returned to give us a new and as always interesting evening’s demonstration, this time with a simple bowl that was then cut, using a V-Groove cutter and a different contrasting wood inserted into the grooves. This was then turned again to produce a bowl with the inserts visible both inside and outside. This looked technically challenging and required a certain amount of additional tool set up, but some members will no doubt take up that challenge! She finished off the evening showing us how she produces her crackle finish using Jo Sonja crackle medium.

Thanks to Margaret for a fascinating evening.

Coloured hollow form with finial & Scandinavian style candlestick

with Richard Kennedy (Bole Gallery, Kilberry)

Richard gave us a great evening’s entertainment and demonstration, with plenty of information and techniques to master.

Most of the evening was taken up with creating a coloured hollow form, where he showed us the use of the Simon Hope hollowing jig with camera and monitora real eye opener for those who have struggled with creating hollow forms and not having the inside meet the outside! He showed us enough of each technique to see what was needed and then moved on to ‘ones he had made earlier’ to save time. The form was partially turned and hollowed out then Richard finished shaping the outside – he favours turning the base with a curved edge giving the impression of lifting the piece slightly. He coloured the piece with spirit dyes, in this case starting by covering the entire piece with purple to highlight softer wood, then in turn sanding off parts of the form and colouring with blue red and yellow dyes. He creates his highly polished finish with several coats of melamine lacquer and a top coat of clear high gloss car spray (any low priced make will do).

He then went on to make the finial, satisfying the request for a 2mm diameter.

Richard finished the last half hour making a Scandinavian style simple candlestick, which has a very pleasing shape. The wood for the Candlestick had been pre-drilled with a Forstner bit to fit a tealight holder and mounted between a steb centre and tailstock, ensuring the steb centre was perfectly aligned by turning it by hand an inserting his fingertip between steb centre and wood. He then shaped the piece, emphasising the importance of design principles – two-thirds and one-third being more pleasing to the eye. The candlestick had a slightly convex curves leading to the narrowest concave part. Along with the fascinating use of the Simon Hope jig, Richard mentioned other useful tips, one being to recommend the use of lapping fluid to use on a diamond one when sharpening up the edge of his gouges – this changes colour as the gouge becomes sharper.

Multi-axis Off-centre Candlestick

with Rick Dobney

Rick gave us a very professional and detailed demonstration of his off centre candlestick and had kindly let us have the instructions. He also gave us a few handy tips for equipment including an automatic centre punch similar to the one shown here. He also mentioned the safety reading glasses he was wearing that can be found on various websites.