A Project by Rick Dobney
The Great Escape - (Lessons Learned)
“What size lathe have you got?”…..should
I really have picked up that 16” ash blank. Never been one to pass
up a challenge, I just hoped I could do that lovely piece of ash
justice.
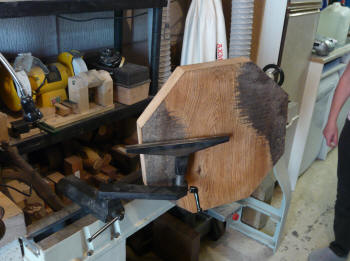
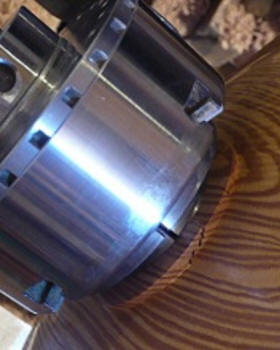
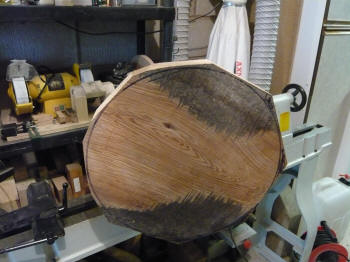 Mounted
outbound on a face plate, I quickly discovered the first
challenge…..great though Steve’s wood was, it wasn’t the same
thickness across the blank. Spinning up an out of balance piece of
wood this size would be asking for trouble. Carefully sawing off the
angles to balance the blank did the trick, check the RPM and off we
go.
Mounted
outbound on a face plate, I quickly discovered the first
challenge…..great though Steve’s wood was, it wasn’t the same
thickness across the blank. Spinning up an out of balance piece of
wood this size would be asking for trouble. Carefully sawing off the
angles to balance the blank did the trick, check the RPM and off we
go.
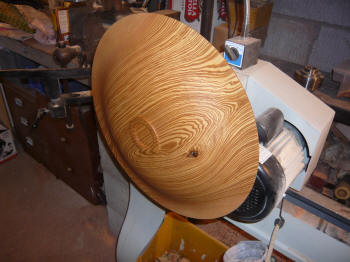
A few minutes with the bowl gouge and the real beauty of this
ash began to show. Initially turned to a rather large porridge bowl,
a remodelling was clearly required. A recess (to be disguised later)
was added to the base and the whole underside sanded down to 600
grit using the Sorby Power Sander…..all going well so far.
Applying sanding sealer 50/50 thinned really emphasised the colour
of the grain.
Having read a chapter in Robert Chapman’s book on turning, I was
inspired to add a little detail to the inside of the bowl. Robert
urged caution as dig ins could occur if you’re not careful. Again up
for a challenge, I thought I’d have a go, the quality of the wood
warranted that extra effort.
 Trying
to add that nice bit of detail and Robert’s prophesy came true….the
most monumental dig in you could imagine. Even my wife came in from
the kitchen to find out what was going on.
Trying
to add that nice bit of detail and Robert’s prophesy came true….the
most monumental dig in you could imagine. Even my wife came in from
the kitchen to find out what was going on.
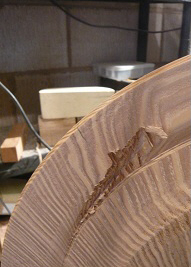
Expletives over, I surveyed the damage:
As I was working near the rim, there was no depth of wood….the
dig in had burst through the other side.
The chuck recess was damaged.
The only bonus was that the bowl didn’t fly across the garage and
smash into the wall.

A design opportunity…or the start of The Great Escape
Back onto the faceplate to take out the damage and reshape the
recess.
(You can see the difference between the wood with / without the
sanding sealer)
 I
reshaped the bowl as previously, albeit a little smaller….now down
to around 12”.
I
reshaped the bowl as previously, albeit a little smaller….now down
to around 12”.
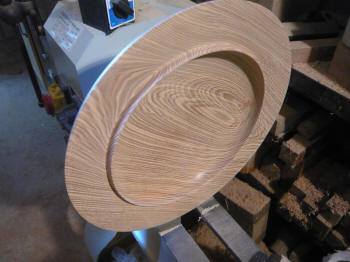
Including a raised lip on the bowl to add that desired detail (this
time a little more carefully….I’ll not make that mistake again).
Finished again to 600 grit and sealed with sanding sealer, it looks
the part once again….except.
 Although
I’d remodelled the recess for the chuck, I should have turned a
whole new recess from scratch.
Although
I’d remodelled the recess for the chuck, I should have turned a
whole new recess from scratch.
The photo left shows a major crack in the foot….another design
opportunity in the making.
I could now mount the bowl between centres and using the tail stock
to support, turn off the damaged foot.
 An
offcut of Walnut was perfect to create a new replacement foot for
the bowl.
An
offcut of Walnut was perfect to create a new replacement foot for
the bowl.
Turned to fit over what remained of the original foot, finished with
sanding sealer then parted off using a thin parting tool.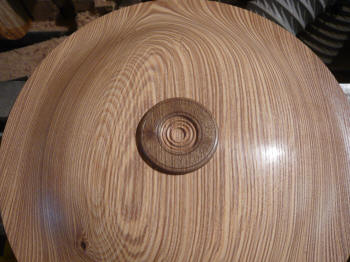
The new foot was then fitted to the bowl and fixed using medium
thickness super glue.
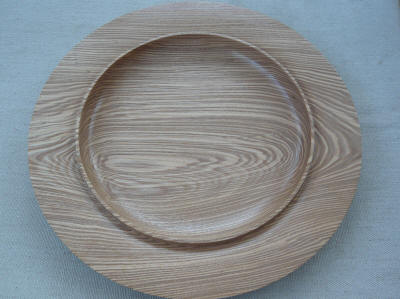
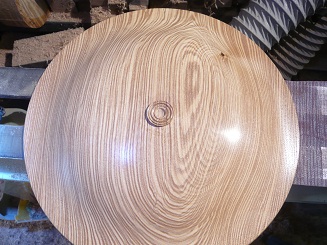
The finished article – rescued
The underside of the bowl showing the foot.
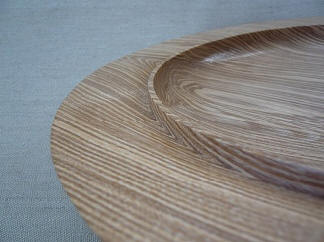
The ash grain is really quite something isn’t it?
Below, the rim and on the right, the finished platter.